
Are you interested in learning more about canning tips?
I suggest you start with these water bath canning tips. Most home canners begin with water bath over the pressure method. In my own experience, water bath is a less stressful way to learn the ins and outs of safe canning practices to preserve food.
Let me tell you straight up that learning to preserve food does have it’s challenges. It is time consuming.
But imagine being able to “shop” for your own home made jars and ingredients right from your canning pantry! No trip to the store! That’s what I’ve gained the most about learning how to preserve vegetables, meats, fruits and other things. It’s a skill that has great benefits.
In this post,
- What is home canning and the differences in the methods.
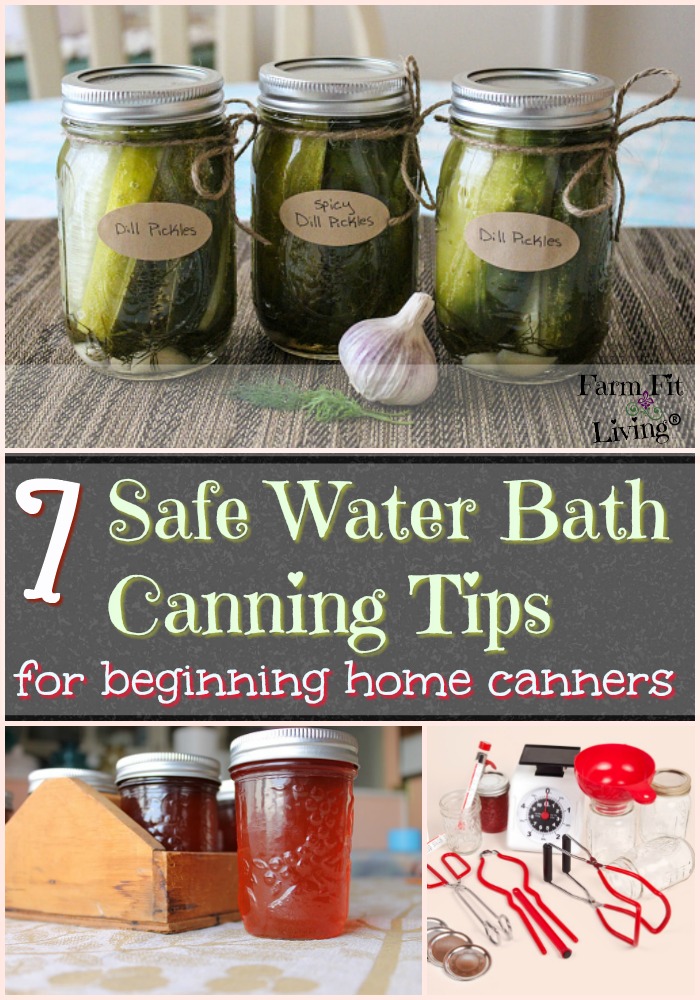
- The 7 best water bath canning tips you need to have to be successful.
- What foods are safe for water bath canning (or not).
Listen to the Podcast:
This post contains Affiliate Links. This means if you click and buy, I might make a commission at no cost to you.
See my policy for more information
First of all, What is Canning?
Simply put, a canning definition is the method of food preservation where you can preserve all types off food into sealed mason jars to keep for months or even years!
It’s been around for a very long time. This is a good way to preserve food without refrigeration or freezing. Or dehydrating. This process will keep your food fresh and safe to eat. There are two different methods of safe canning. Let’s talk about them.
Different Methods You Can Use
The differences of canning water bath and pressure methods are pretty discreet and should be taken seriously.
In a nut shell, pressure is for low-acid foods or a combination of low and high-acid foods that have a pH greater than 4.6. It’s usually safely done with certain vegetables, meat, poultry and seafood. The process is controlled by the heat and the amount of pressure exerted upon the jars inside the canner.
Go here for a safe guide to Pressure Canning
In contrary to pressure, water bath is much easier. You should have a canner for water bath but you can really use any pot with lid that ventilates. The process is controlled simply with boiling water. Once the water is boiling, allow jars to be canned at a certain amount of time. No pressure required.
So, you can see the distinct differences between the two processes. Let’s get back to simply water bath and talk about equipment.
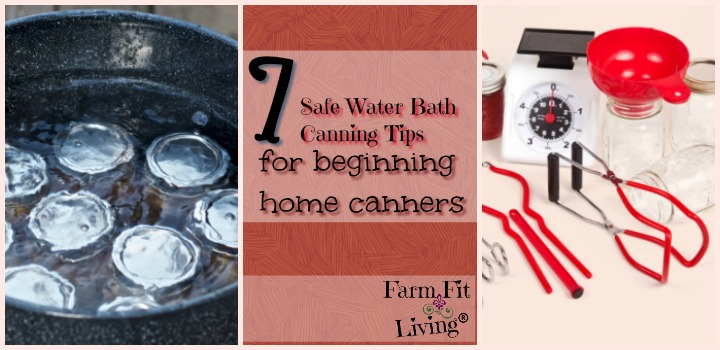
Equipment Needed for Water Bath Canning
In order to be successful, you need to have the right equipment. This is the list of equipment for water bath that I use.
- Canner with Lid for Water Bath
- Jar Lifter
- Jar Funnel
- Bubble remover/Headspace Tool
- Cooking Timer
- Get the Complete Kit with everything in it here
- Ball Jars
- Ball 2-Piece Lids
- Labels for Canning Jars
Now, we need to know what we can safely can using water bath. Here’s a short list of foods that are safe for canning using water bath.
So, what foods are safe for water bath?
High acid foods are safe for this method of preservation.
These include:
- Fruit – (Get my home canned applesauce recipe here)
- Fruit Jams & Jellies – (Get my Pepper Jelly Recipe Here )
- Tomatoes & Tomato Products – (Get My Ketchup Recipe Here)
- Cucumber Pickles
Just a few ideas. There are so many more. Just be sure they are high-acid to be guaranteed safe.
Easy Steps for Water Bath Method
Let me make this simple for you. I’ve narrowed it down to 7 things you absolutely must do to safely can in the water bath way. The rest is just fill-in-the-blanks. You’ll find that the more you can and practice, the more little techniques you will develop.
Here’s the steps you must do, though:
1.Gather equipment and ingredients: It’s a pretty fast process, so you’ll need to have everything ready to go before you start. Jars and lids washed. Water getting hot, etc.
2. Follow your recipe: Choose a recipe you want to try and follow it to a tee. Remember that you’re preserving food to enjoy later, so you want to make sure you preserve it right.
3. Fill jars according to head space and stir for air bubbles: Head space is the amount of space between the product and the top of the lid. You’ll see the amount of head space you need to leave in your recipe. Also, swipe around the jar and release air bubbles that can accumulate. Luckily, there’s one tool that does ALL OF THESE THINGS and I’ve linked to it above.
4. Be sure the jar rims are clean: Before you place the lids onto the jars, you need to make sure they are clean. Simply take a wet paper towel and wipe the rims. This will help the lids seal better.
5. Be aware of your altitude and adjust for processing time: Most recipes are standard based upon where it was created and tested. In order to safely can food, you’ll need to determine your altitude and adjust accordingly for safety:
- 1,001 to 3000 ft –> Add 5 minutes
- 3,001 to 6000 ft –> Add 10 minutes
- 6,001 to 8,000 ft –> Add 15 minutes
- 8,001 to 10,000 ft –> Add 20 minutes
Put in your address here to determine your altitude.
6. After timer goes off, remove jars from canner and leave them alone until they seal: Use your jar gripper (see link to buy above) and carefully remove hot jars from the canner. Gently set the jars aside. Notice that more than likely, they will not yet be sealed. That’s ok! Give it some time and listen. That is the last step and sometimes it takes a while.
7. Listen to the music of the “Pop” of the lids sealing: And finally, you hear it. And you know you’ve done it. A sealed lid means that safe canning is complete. Then, it’s time to store these jars into your pantry.
That’s all there is to it.
A Tip for Beginners
If you’re new to this, you might be feeling overwhelmed. Well, here’s a tip to help you get started in a no-fail way. Really, you can’t go wrong with this.
Fill jars with water. That’s it. Then, adjust the two-piece lid as you would normally and process the jars of water for 10 minutes.
Remove them when they are finished and then listen for sealing. You should hear a distinct pop noise if sealed. This is practice. You can keep canned jars of water in your canning cabinet if you feel the need to do so.
But this is really just a great way to practice and one of the best water bath canning tips I’ve heard. It’s a great way to start and to gain confidence to keep going and try new recipes and processes.
Don’t Be Afraid…Just Start With These Canning Tips
And this is the hardest part. Starting.
Starting something new can be difficult. But, I’m here today to tell you that if you do have the desire and dream of canning your own foods, here’s your chance. You just have to start with these canning tips.
I’ve given you the equipment list you need. A great resource for recipes. And a 7-Step Checklist for safe water bath canning.
And now, it’s up to you. You just need to make the time now to fit it into your busy schedule and make it happen. Go for it!
~ Much Love ~


Is Your Canning Space Overwhelming?
Get My Canning Inventory Check-List and stay in Control! It will be delivered directly to your inbox as soon as you plug in your email right here.