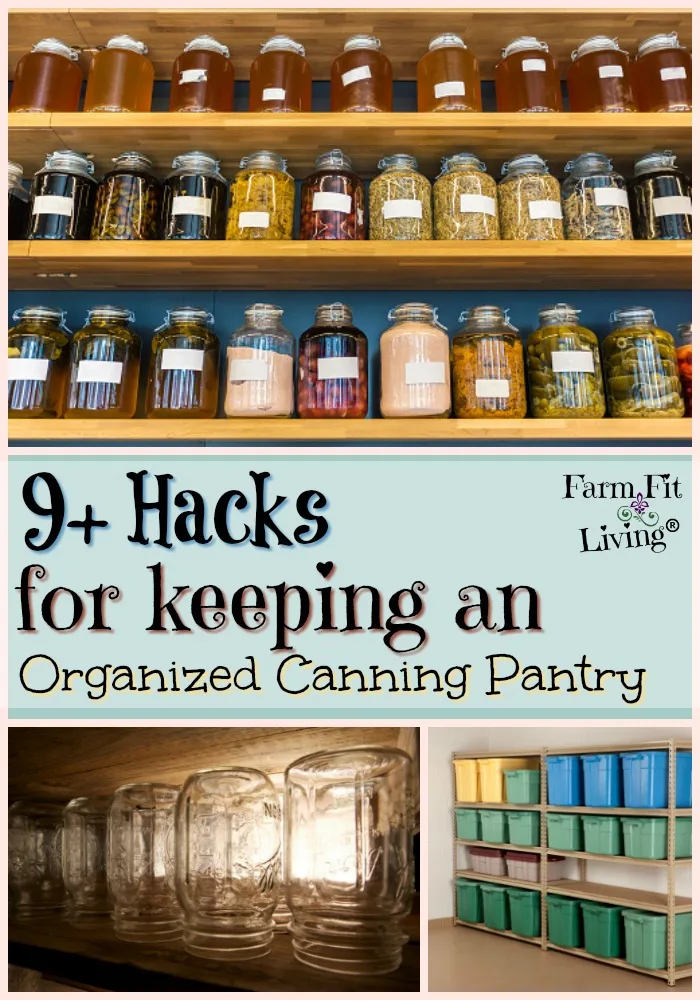
Are you feeling like a failure when it comes to keeping an organized canning pantry?
You don’t have to feel overwhelmed about keeping an organized canning pantry. You can take control of your canning area once and for all.
In this post, I will:
- Give you the hacks to keeping an organized canning pantry (or area if you don’t have a pantry)
- Introduce to you some printable canning inventory forms to keep track of what canned goods you have.
- Discuss some DIY Canned Food Storage Tips and Tricks for you to try out.
For me, organizing can be a tough feat. I’ve never been great at organizing much of anything just because I don’t LOVE to do it. I get sidetracked by shinier jobs and tasks and put cleaning and organizing by the way side.
But I know first hand that keeping your canning area organized and in control can really solve some heartache in the future. Let’s start in with each of the supplies and how to properly store them when not in use.
DIY Canned Food Storage + Canning Inventory Forms
Building a canning jar storage rack yourself is totally doable. Just about any size that will work for your space is able to be build yourself.
Here’s an example from Pinterest for a DIY Storage Rack
You can also check with a friend or family member to see if they have any for free to giveaway that they aren’t using. That’s how I scored my amazing metal storage racks. So, think outside the box and think about who might have some they would give you.
When your racks are ready and set where you want it, you can organize your canning jars.
How to organize canned goods in pantry? Well, I like to keep every different kind together. And labeled very appropriately. But more on that later. You definitely need a good check-list to keep track of things.
I like to use my canned goods check-list to keep track of inventory. Do you want to get a copy of my check-list, too?
You can have it! Get it here delivered to your email inbox!
Storing Empty Jars
As you use your canned food, you’ll want to have an easy access place to store those empty jars until you put canned food into them again.
I typically use storage containers that I keep organized between different sizes of jars. So, pints get a box, Quarts get a box and so on. This is to help me not to have to dig through storage containers when I’m in a hurry at canning time.
They are properly labeled and stack-able. So, I can keep the emptier one on top to place the next empty jar when I take it downstairs.
I can also put lids and bands in those totes. Or I use smaller totes to hold them.
Storing Unused Lids & Bands
These are small items that are easy to store. To keep them organized between regular and wide mouth, I use smaller containers labeled as such. This helps me to know how many of each I have as well.
It’s best to be prepared, for sure. And around my house, lids tend to “walk away.” This way, I can keep my lids and bands safe. I also need to keep my canning utensils in a safe place as well.
Canning Utensils
To make space in your kitchen, store your canning utensils in the canning storage area.
You’ll never lose your spoon or your gripper again!
Utensils also need their own container and space. To save room, I like to use a small storage cart with separate drawers. It’s light, so I can carry the whole thing if I need it. I’ve linked to the one I use below.
Safely Storing Leftover Spices & Ingredients
Do you have extra spices left over from the season? Dry spices and ingredients such as, basil, oregano and dill, will keep for the following year. Place it in a sturdy container with lid and store it in a cool, dry place.
I have also stored the spices in the canning pots and lids. I then stored the pots in big plastic containers through the off season. This helped keep the herbs and other ingredients from getting destroyed by rodents or insects while in storage.
While herbs are easy to store, you can also just simply use them up in recipes through the canning off season.
Canning Pots
I store pots on shelves upside down. But you can also place them in a deep container, which I recommend if you have a rodent problem in your home.
Another way you can store them is to hang them using hangers
Always clean your canning pots completely after the season before you store. This will keep them fresh and ready to go for next season.
Ideas for Food Storage Without Pantry
Don’t have a pantry in your home? No problem!
I also do not have a pantry so I use my basement to store all my canning stuff. I just simply chose a corner of my basement and contained all of the above.
Starting at the bottom, I place my extra large storage container with my clean canning pots tucked safely inside. Then, on top of that, I stack storage containers with empty jars, lids and bands. Again, separate these into their own small containers and then stack in two different containers for wide mouth and regular mouth.
Then, you’ll need some storage space for utensils and extra ingredients. Remember that all of these can be stackable to maximize space in your area.
Food Storage Ideas for Small Spaces
If space is a big issue for you when keeping an organized canning pantry, then definitely consider storage containers that are stack-able.
I listed a sequence above for how to stack and store your canning supplies. But it really all depends upon your space.
Keeping Rodents Out of Your Supplies
If you have a farmhouse like me, you’re more than likely going to have a mouse or two inside. And that can be frustrating and annoying all at the same time.
I definitely know the struggles of rodent control both in the farmhouse and out in the barns. And as much control as I do outside or inside, they still continue to come in. I’ve learned a few things to take control of them when they come in.
- Cats don’t always do their job.
- Switch up traps because mice learn which ones to avoid if you’ve had them out a while.
- Look for holes or areas in corners where they could have squeezed through. Patch them up immediately.
- DON’T USE CARDBOARD BOXES AS STORAGE CONTAINERS
Only use storage containers mice cannot chew through. You’ll have even more problems and mess in your space than you want.
Canned Goods Organizer
Reason to label your jars? Well, learn from my mistake.
Have you ever gone to grab a jar of pizza sauce but couldn’t remember if it’s pasta because you hadn’t labeled ANYTHING? Umm…yeah. That definitely happened to me.
So, I highly recommend that everyone label everything. Here’s what to include on the label:
- Name of Product
- Date Canned
- The processing method you used (Pressure canned, Dehydrated or Waterbath)
This will help you remember because we all know that we have way to many things to think about from one point to the next. Don’t let yourself forget what you canned. You might be unpleasantly surprised.
Taking Control of Your Canning
As I said before, I completely understand the feeling of being overwhelmed with your canning space. Been there, done that.
And I hope that this post has helped you to be a better organizer of your canning supplies and canned jars. Simple good use of your space and proper labeling can make a big difference when you’re keeping an organized canning pantry.
Do You Have Special Tips for DIY Canned Food Storage or Keeping an Organized Canning Pantry? If so, Feel Free to Share in the Comments!


Is Your Canning Space Overwhelming?
Get My Canning Inventory Check-List and stay in Control! It will be delivered directly to your inbox as soon as you plug in your email right here.


