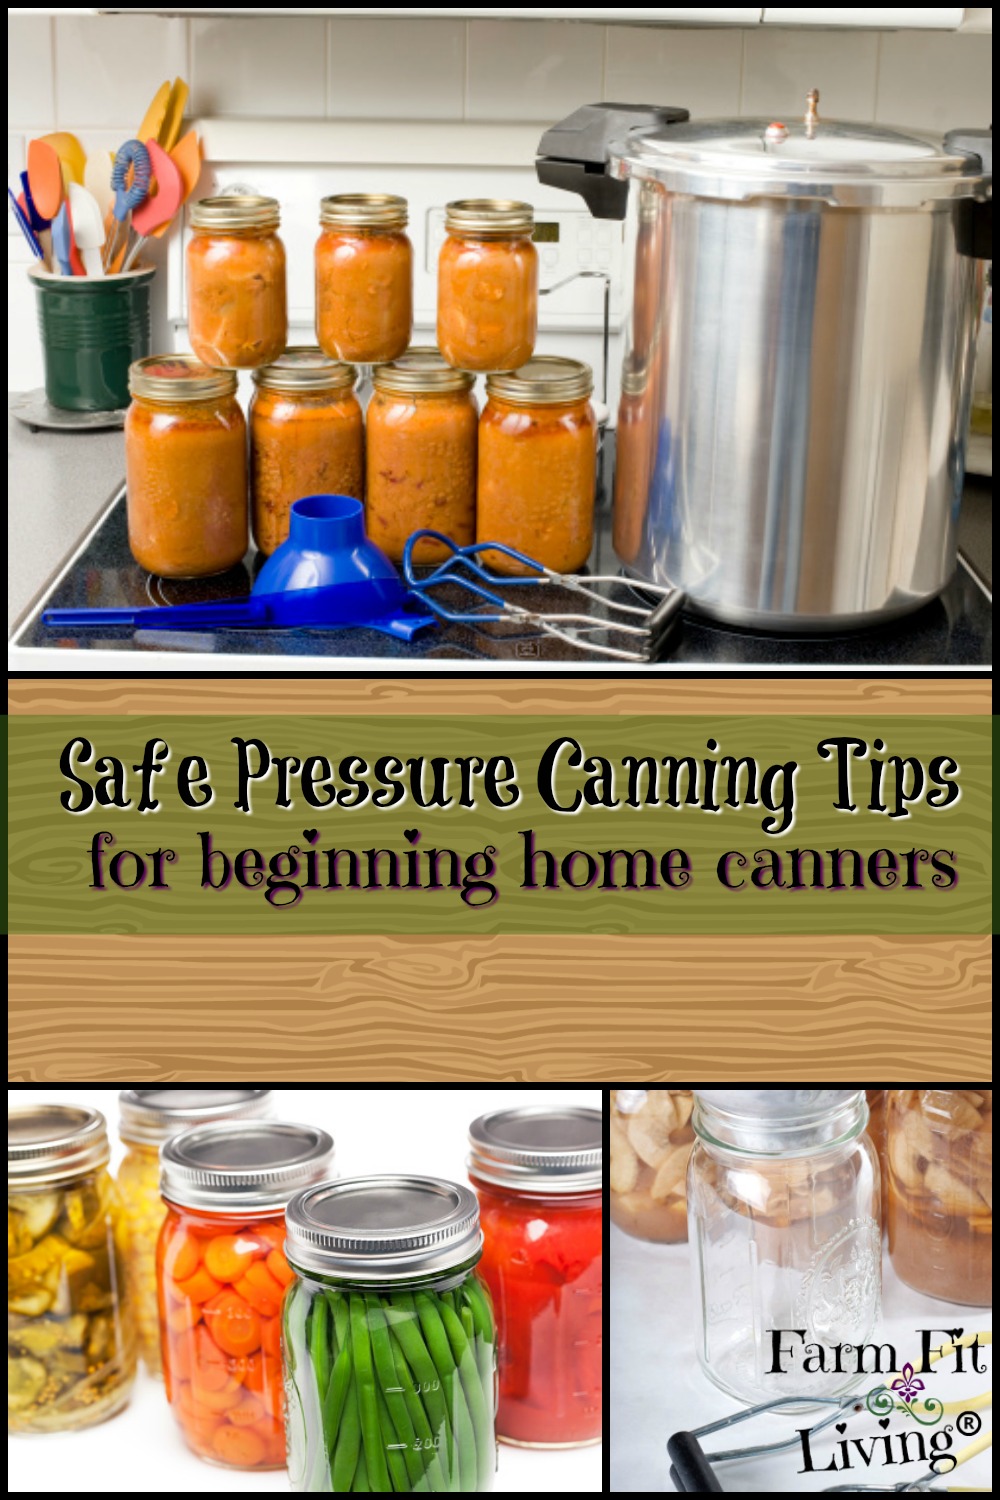
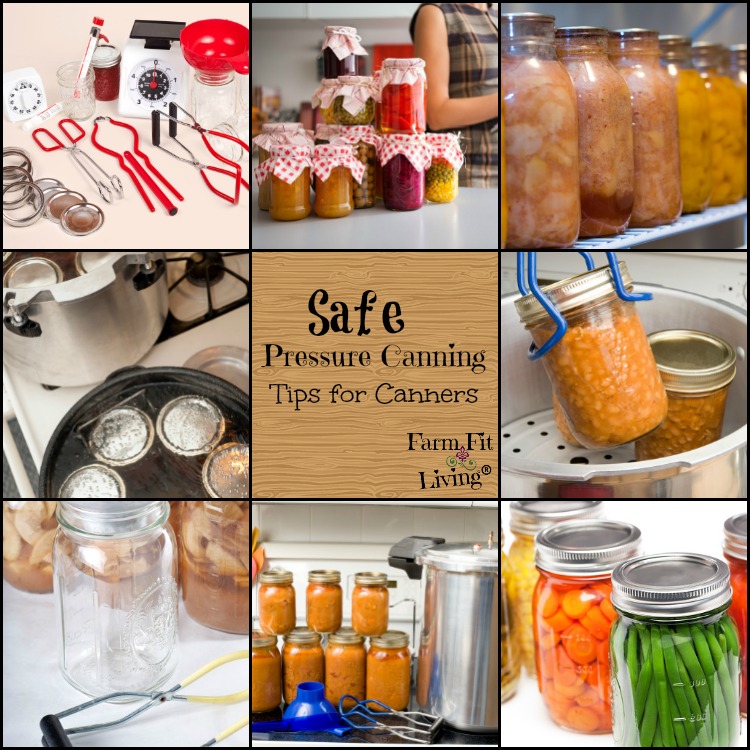
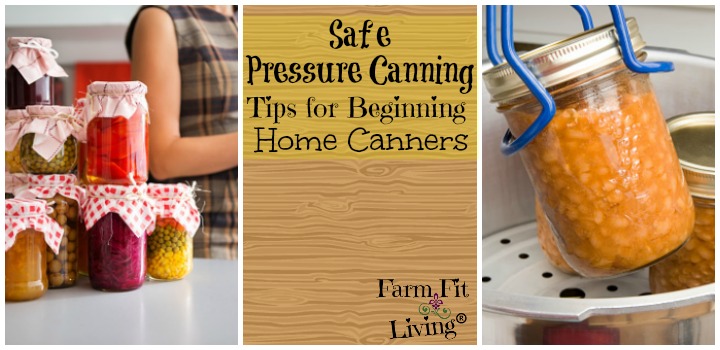
Safe Pressure Canning Tips for Beginning Home Canners

Are you looking for safe pressure canning tips to encourage and help you increase your pantry of home canned goods?
Congratulations! Welcome to the safe pressure canning tips club! Home canners are sadly a "dying breed" that is slowly making a comeback. At least I think there are a good number of home canners out there who are wanting to start according to social media.
And that number is growing all the time. So, I'm glad you're here because canning is one of MY favorite ways to preserve fresh produce. But the pressure side of it almost scared me away from it.
Luckily, I survived and I'm here today to share with you some safe tips. In this post, I'm going to share with you:
- Safe Pressure Canning Tips for Success
- The answer to the question of "What is a pressure canner?"
- The difference between pressure canning and water bath canning.
- What foods need to be pressure canned safely.
- Where to find safe pressure canning recipes.
Listen to the Podcast:
So, I'm going to discuss all of these bullet points. And I'm going to start at the beginning by explaining what pressure canning is and what you need to know about it.
This post contains Affiliate Links. This means if you click and buy, I might make a commission at no cost to you.
See my policy for more information
What is a Pressure Canner?
So, why pressure canning? Because if you want to can certain veggies, such as corn and green beans, you HAVE to learn this skill. Low-acid foods require pressure canning to ensure a long-term safe quality product.
The pressure canner is a large pot with a lit that has a dial to measure pressure. I'll go into more about this dial and its significance to the canning process later on.
Let me explain the differences between pressure canning and water bath in the next section.
Pressure Canning Vs. Water Bath Canning
Most home canners will learn to can via the waterbath method. I started learning to can by doing salsa and jelly in the water bath canner.
Check out my State Fair Winning Salsa Recipe Here
And Visit this page for my yummy Pepper Jelly Recipe
Water Bath canning very safe and simple to learn. You don't need a lot of fancy equipment to water bath although the vent in the lid during water bath is important. Really, you don't!
As long as you have a large pot with a tight fitting lid that's deep enough for 1 inch of boiling water over the tops of your jars, you're golden.
Higher acid foods, such as tomatoes and fruits can be canned using water bath.
Pressure canning (on the other hand) requires a pressure canner. It's mainly used for low-acid vegetables and meats at 240 degrees F and a minimum of 10 pounds of pressure.
It's important to use an actual pressure canner with gauges because the gauges actually measure the amount of pressure for you. You'll find out that you'll need to watch this pressure like a hawk, so having a dial gauge on your pressure canner is super handy.
What's the Best Pressure Canner to buy?
I use and recommend the Presto 23-Quart Pressure Cooker & Canner.
Now, let's talk about how to use your pressure canner safely.
Safe Pressure Canning Tips
These safe tips are provided from the National Center for Home Food Preservation. Visit the web site here. It's an awesome site for safe canning recommendations as well as safe recipes.
So, let's get into those steps to successful home pressure canning. I'm going to break these into four different sections:
- Preparing the Canner
- Preparing the jars
- The Canning Process
- After Canning
Preparing the Canner
First of all check your pressure canner before you even start. Read the instructions in your canning kit for cleaning your pressure canner.
Clean all gaskets and parts. If you have a dial, take it to your local county Extension agent to make sure it will be working properly.
Be sure the canner is placed well centered over the burner on your stove. The amount of heat on the canner must be level all the way throughout.
The next one is to pay attention to the amount of water inside the canner. If not specified, only use about 2 to 3 inches of water in the canner. Always follow the direction to see if it requires more water than that.
Note the difference between hot packed and raw packed. Hot packed means the produce or meat boiled ahead of time. Raw means it is not. Most times raw packed is better just because it's too easy to not get the jars hot enough and this causes a fluctuation in temperature. Thus, causing a decrease in liquid from the jars.
If you're using hot packed, bring the water inside the canner to 180 degrees F. ahead of time. Be careful not to boil the water. If using raw pack, only keep water at 140 degrees F.
Preparing the Jars for Canning
When filling the jars, pay close attention to head space. This is the amount of space recommended from the top rim of the jar. So, if your recipe calls for ¼ inch head space, that's how much space your liquid should be from the top of jar. I use a spatula with a ruler on the end to measure head space.
Then, remember to wipe your jar rims clean with towel. This will help with the final seal on the jar.
Next, fit the lids and ring bands on very securely. You'll know if you didn't get them tight enough when you pull them out and you've lost liquid from the jars. So, be sure they are hand-tightened tightly.
Now your jars are ready for the canner! Use your jar lifter to prevent burning your hand. Set them safely on the jar rack inside the canner.
Jars need to be standing upright through the entire canning process. And now you're ready to start canning!
The Canning Process
When your jars are in place, set the lid on and fasten securely. Leave the weight off the vent pipe for now. You're just heating the water at first.
Turn the heat on high. Wait patiently until the water starts to boil and steam flows freely from the open vent. Let the steam flow on high for 10 minutes.
After 10 minutes is up, go ahead and place the weighted gauge onto the vent pipe. Now, you'll need to pay attention to pressure. You'll see the pressure start to increase for the next 3-10 minutes.
This is where you need to watch very closely. Get rid of distractions and focus on the pressure. Once the pressure is almost to it's recommended point, reduce the heat to medium.
When it hits the point (for example: 11 pounds), start timing. You'll need to keep the pressure right there. If it goes below that point, you'll need to get it back up and start your timing over again. Letting it go a little higher is ok but it should not fluctuate through the processing.
Tip for regulating pressure: Simply control the temperature of your burner just slightly for the entire processing period.
After Canning
After your timer goes off, turn off your heat. Let your canner cool down all on it's on to prevent burning yourself. This might take a while. You don't have to move it. You can just leave it where it is.
Do not force cool. Use this time to wait on the canner by just relaxing or cleaning up the canning kitchen. It usually takes 30 minutes to an hour for the pressure canner to cool down and depressurize.
So, during this cooling process, you'll read your pressure dial and see the pressure decreasing to zero pounds. The vent pipe will also close on its own. Please keep in mind that this is important because the canner is very hot inside. It is really best to wait even 10 minutes more before you unfasten the latches on your canner lid.
If you invest in the Presto Pressure canner I've recommended, you'll find that it locks the lid during canning. After the canner is cool, the lid will unlock. Please keep in mind that it is STILL HOT. Use pot holders to twist open and be prepared for excessive heat to hit your hands when you take off the lid.
With the lid off, you can use your jar lifter and carefully remove your jars. Keep them straight up and down - Do not tilt the jars. Set them on a towel or cooling rack.
Finally the fun part. As you let the jars sit and cool down undisturbed, listen for the beautiful sound of jars sealing. You'll hear the snapping sound and know that all your hard work paid off. When the sealed jars of food are completely sealed up, you can store them safely.
How to Store Pressure Canned Food
- When the jars are completely cool, remove the bands from the rings. This allows you to use your bands again without them rusting.
- Label the jars with a dark colored permanent marker or sharpie.
- If any jars did not seal, place them in the fridge to be used within a week.
- Finally, store labeled jars in a cool, dark and dry place for up to a year.
And there you have it! Tips for safe pressure canning. Now that you know the process, let's talk about what recipes you should use.
Super Safe Pressure Canning Recipes
There are three resources I use for all of my safe pressure canning recipes:
- Ball Blue Book
- So Easy to Preserve
- National Center for Home Food Preservation. Visit web site here.
These are all great safe resources and piggy-back off each other. Not only can you find great recipes but awesome tips for safe canning as well. All the tips I'm sharing with you today were derived from these resources.
And although Grandma has been canning a lot longer, new findings in science with home canning has proved that old ways are not always necessarily safe. So, my advice is to stick to the science and use the resources I've listed.
Another thing you shouldn't listen to Grandma about it her canning horror stories...well you should listen to them. But learn from them! More on that next.
Horror Stories about Pressure Canning
Have you heard them? Man! I sure did when I was first starting.
Grandmas and aunts did not hesitate to tell of times when a canner lid blew off. Those stories almost prevented me from starting to pressure can at all.
However, I do have one grandma who gave me lots of great advice and encouraged me. She really hasn't had any trouble in all her years of pressure canning and still cans to this day.
And I enjoyed spending the day with her when I was learning to can green beans. I learned you can pressure can safely if you pay attention and follow instructions.
So, I encourage you to look past the horror stories you may hear. Stay confident and learn the skill to safe effective canning. Don't let people's bad experiences discourage you from trying out this awesome skill.
Don't Be Discouraged
Here are some tips to enjoy pressure canning to the fullest:
- Find a mentor - Read how you can find a mentor in just 3 easy steps.
- Practice with jars of plain old water - You can't go wrong!
- Attend local classes - Contact your County Extension Office to find classes
- Join Facebook groups
- Keep on canning - Don't give up.
Don't give up. Ever. If a jar doesn't seal. Or if you made a simple mistake (like not tightening jar lids before canning...oops). Please just try again. Learn from your mistakes and you'll grow in your skill. As you grow, you'll enjoy the process more and more with these safe pressure canning tips.
Enjoy the Advantages of Safe Home Canned Food
Let's go back to the "why." Why do you want to pressure can food? Why do you want a pantry full of home canned food?
You have your reasons and I have mine. More than likely they are similar reasons:
- For preparedness during a time when you need it.
- Preserving all that garden produce.
- Just the simple joys and empowerment of becoming self-sufficient.
And so many more! I hope after reading this you feel empowered and inspired to pressure can. Please let me know in the comments: What are your reasons for learning safe pressure canning tips?

Interested in Canning?
Enter your email to receive Mindy's solutions to your canning questions and problems made simple. You'll get regular tips and announcements about exciting upcoming goodies that Mindy has in the works.


One Comment
Comments are closed.