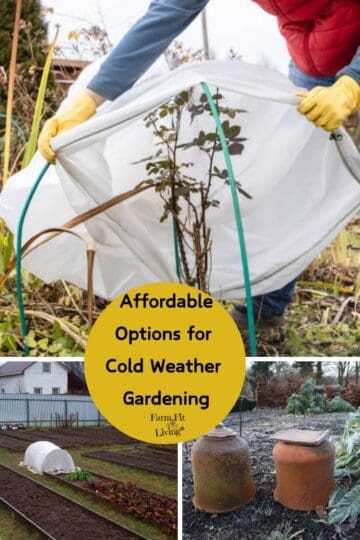
How to store winter squash to enjoy fresh for months

Wondering how to store winter squash so you can enjoy it longer?
When you learn how to store winter squash, you will be set for fresh vegetables all Winter. And we all know how good fresh tastes in the middle of cold cold January.
You've grown the Winter squash. Now, let me teach you the art of storing it properly.
In this post, I'll teach you:
- The types of Winter Squash that you might want to plant and grow yourself.
- Why it's important to CURE Winter Squash before you store it.
- How to store Winter Squash to enjoy fresh later.
I might even throw in a recipe or two at the end! How does that sound? Okay! Let's dig in.
This post contains Affiliate Links. This means if you click and buy, I might make a commission at no cost to you.
See my policy for more information
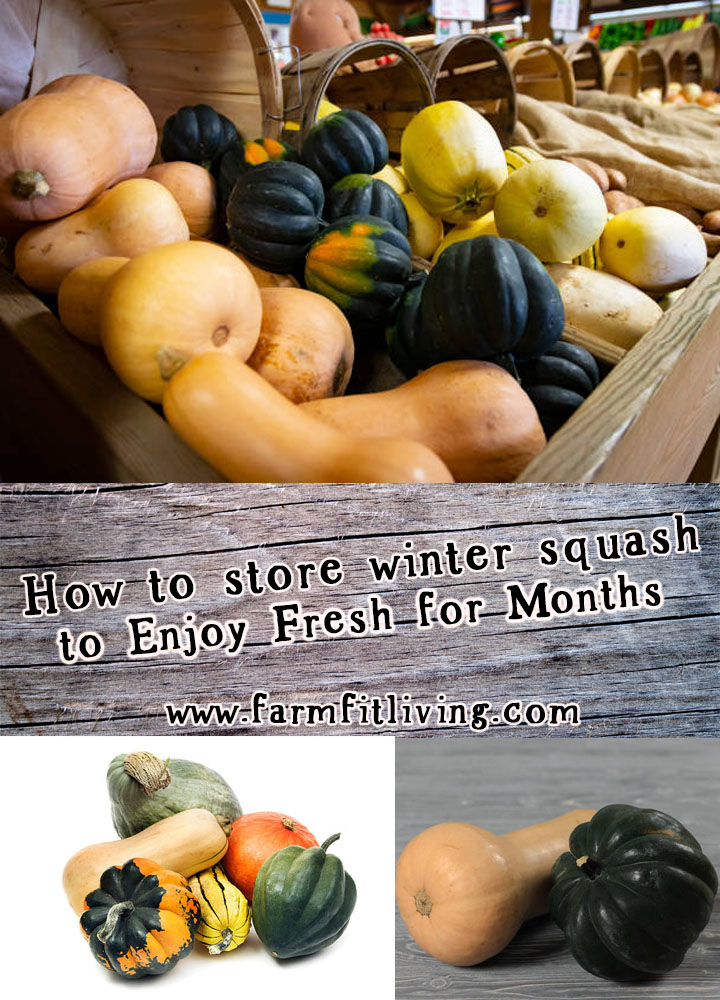
Types of Winter Squash
What do we dub as Winter Squash? Well, these are the squashes that grow in cooler temperatures and can store well into Winter. Here's some of my favorites:
- Butternut
- Acorn
- Buttercup
- Hubbard
- Kabocha
- Spaghetti
And these are just a few of the examples that are out there for us to enjoy. The best thing about them is that with proper care, you can enjoy these healthy squashes all through the Winter! Let's explore some ways for how to store winter squash.
The Art of Curing Winter Squash Before Storing
Before your store your winter squash, you have to do this. You must take the time to cure them. But what is curing?
Curing is a must for long-term storage of any winter squash. It does a number of things for the squash:
- Helps squash resist rot and collapse,
- Skin becomes harder thus slowing respiration and protecting the tasty goods inside.
Proper curing must have the ideal temperature and humidity present. I'll talk about some ways to manipulate this in a little bit. The temperature for curing must be between 80 and 85 degrees F. Humidity must be 80% to 85% relative humidity.
In some locations, this isn't hard to accomplish but if you harvest in the fall - It might be.
There's a number of ways you could cure your squash but all of them exist to accomplish one goal. Cured winter squash. Let's talk about some of the ways to cure winter squash.
3 Proven Ways to Cure Winter Squash
Field Curing
The easiest way to cure winter squash is to just leave them in the field for a few weeks. Cut them first and then just line them up and leave them. That's it.
Or is it? There's a number of things you have to watch for when you do this. One of them being insects. Squash bugs and any other insects that might think your squash is tasty. So, you'll need to keep a good eye on your squash if you choose this one.
You also want to make sure your squash won't get rained on. They need to be dry during the curing process. You can arch a tarp or cover over them to make sure they won't get wet. This might prolong the curing process. Field curing exposed to sun is about 5-7 days long.
Cure inside a vehicle
This is a good option if you have a large van or something with a large back seat. You need to make sure you have plenty of room for your squash plus good ventilation. The vehicle should be plenty warm enough to do this.
How long do you leave squash to cure inside a vehicle? Only 3-5 days is ideal for this. method if temperature and humidity are spot on.
Cure inside a greenhouse
If you have a greenhouse, you know that it can get very hot and humid inside even when temps are cool outside. And if you're harvesting your squash in the fall, temperatures and humidity might not be ideal for field curing.
This is another option. Use your greenhouse.
Place a shade cloth over the top of the greenhouse and put the squash in for at least 10 days. I've heard of growers keeping their squash in greenhouses curing for up to 2 weeks.
Remember that temperature and humidity must be ideal for this to work as well as great ventilation. It's so very important to know these metrics and to keep track of them to a Tee.

Butternut Squash Soup Recipe
½ sweet onion, diced4 tablespoons butter6 cups butternut squash, peeled and cubed3 cups chicken stock½ cup heavy cream1 teaspoon PaprikaSaltBlack Pepper
Ingredients
- ½ Sweet Onion, diced
- 4 T. Butter
- 6 Cups Butternut Squash, Peeled and Cubed
- 3 Cups Chicken Stock
- ½ Cup Heavy Cream
- ½ Tsp. Paprika
- Salt to Taste
- Black Pepper to Taste
Instructions
- Combine all ingredients and seasonings in a medium-sized crock pot.
- Melt the butter in a large saucepan.
- Add additional salt and pepper as needed.
- Slow cook on low for 8-10 hours, stirring occasionally.
Should You Clean Winter Squash Before Storing?
Some growers like to clean their winter squash before storing. I don't think this is a bad idea at all especially if squash is really dirty. You can clean them before curing but you must make sure they are completely dry.
So, what's the best way to clean them? You need:
Mix the 100 ppm Chlorox with water to make a solution that will protect them from bacteria. Then, gently wipe down the squash. Finally let them completely dry and they are ready to store.
How to store Winter squash in Root Cellar
All my life, I've only known winter squash to be stored in basements. I mean, since we all live in Kansas, we all have basements. I just figured because it was cool down there. That's where all my family stored their squash and now I store it in my own basement.
Then I moved to Oklahoma for graduate school and there wasn't a single basement to be found. There's not very many at all. They only have storm rooms.
If you don't have a basement, please don't fret. Don't go dig yourself a basement to store your winter squash in. Here's what you really need to store Winter Squash:
- Temperatures should be 50-55 degrees F (No colder than 40 degrees F).
- Must have good air circulation.
- Must have good humidity.
So, if you can make a space like this somewhere, you can definitely store your winter squash without a root cellar. If humidity is high, use a dehumidifier like this one. If it's too cold, put a small heater in like this one.
The possibilities for manipulation are endless here. Just keep in mind of the specs for temperature, humidity and air circulation. Keep in mind that if the temperature in the storage room drops below 40 degrees F, you could have damage to your squash.
Along with that, temperatures warmer than 60 degrees F promotes early softness and rot.
When you have your perfect space, lay the squash out on benches. Try not to stack them if possible to prevent air flow.

How Long Will Winter Squash Keep?
Ahhh, here's what everyone wants to know. How long will my squash be good for?
Well, Friend, that depends on how well your squash keeps. It depends on how well you maintain the temperature, humidity and air flow of the space.
But now that you know how to store winter squash properly, you're going to be able to enjoy it through the Winter. My family and I have enjoyed winter squash well into the month of March. That's about 5 months of Winter Squash for us.
So, I've given you a lot of things to think about here, haven't I? I hope this has been helpful to you and that you'll be enjoying stored winter squash for many months to come.

Interested in Canning?
Enter your email to receive Mindy's solutions to your canning questions and problems made simple. You'll get regular tips and announcements about exciting upcoming goodies that Mindy has in the works.