
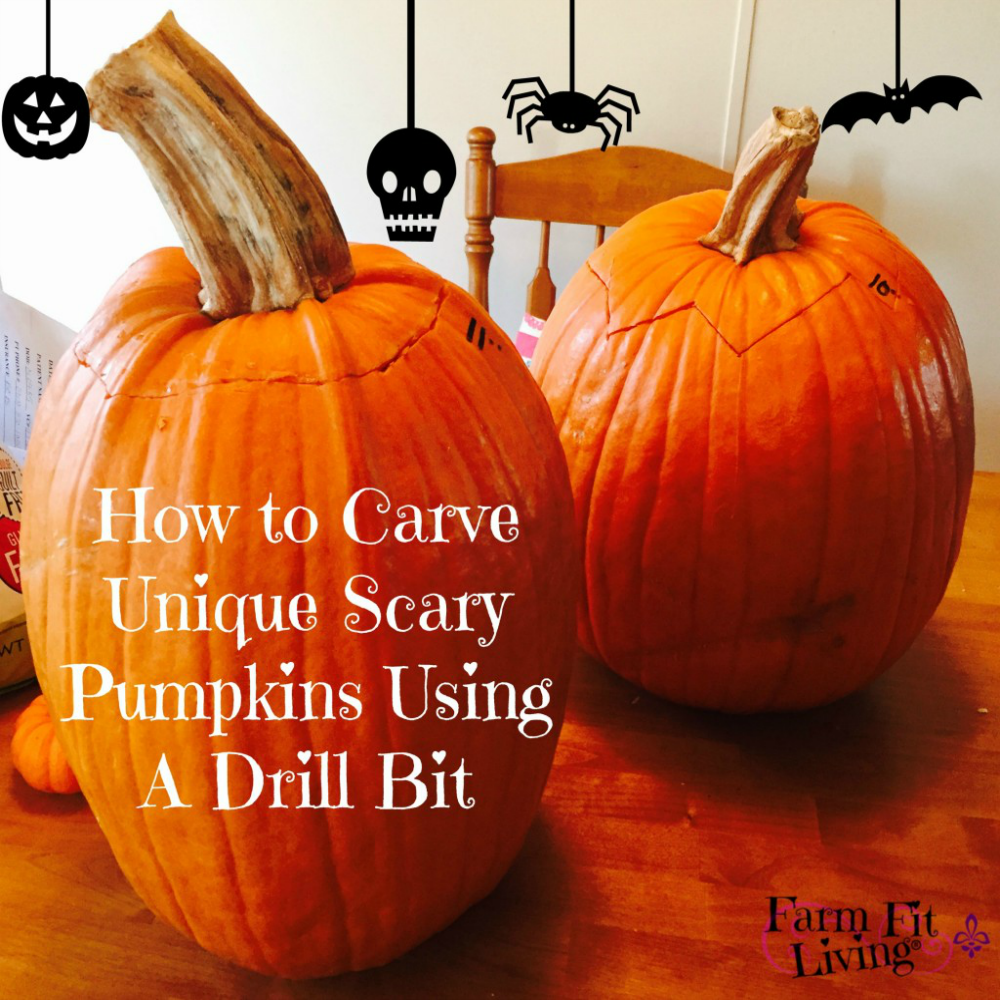
How to Carve Uniquely Scary Pumpkins Using A Drill Bit
Do you want to carve uniquely scary pumpkins that will brighten up your front porch this Fall?
Carve uniquely scary pumpkins using a drill bit. Or even more fun and artistic - Different sizes of drill bits! I mean, why not?
Because the same old carving jack-o-lanterns is just that...old school. Why not use a fun design to produce very professional looking pumpkins to place on your doorstep.
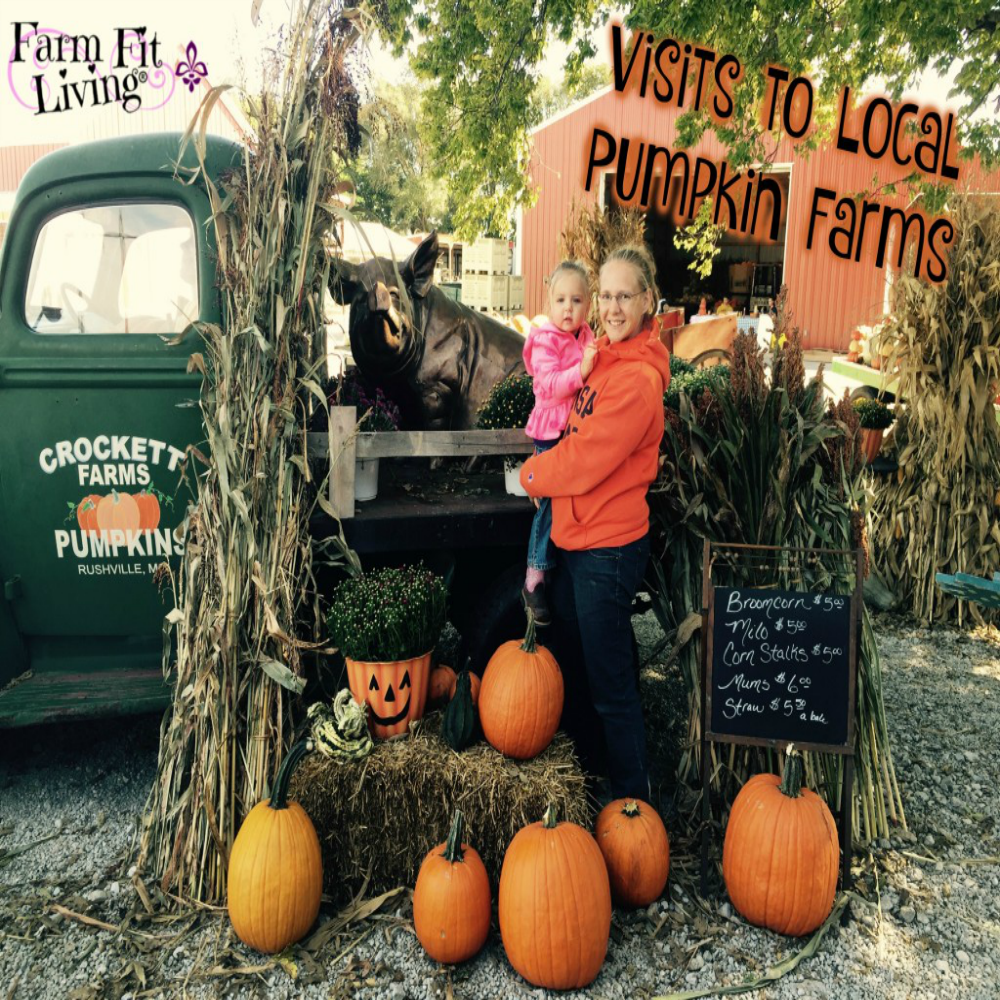
And one of the best things about Fall is visiting pumpkin patches. You can read about my family's adventures and experiences visiting local pumpkin farms HERE.
We had a blast spending the day together and picking out pumpkins, crafts, playing on equipment, and just having a lot of fun. And each year, we continue to experience local pumpkin patches and bring home pumpkins to carve.
First of all, after we bring the pumpkins home, we let our pumpkins sit idle on our front porch for a while. Waiting for Halloween to creep closer so our pumpkins will be nice and fresh for the big night. We don't want the pumpkins to become rotten before Halloween gets here.
In the mean time, we busy ourselves with harvest and just enjoying the beautiful weather Fall has to offer. Then, before we know it, the week before Halloween arrives.
Finally, the time has come to carve our pumpkins into something spooky. Not only was using a drill bit to carve pumpkins a neat and unique way to do it, but it was also a lot safer than using a carving knife.
And when you have kiddos around, better safe than sorry!
This post contains Affiliate Links. This means if you click and buy, I might make a commission at no cost to you.
See my policy for more information
So, here's how I got the idea for using a drill bit to carve uniquely scary pumpkins:
On Pinterest, of course. I noticed pictures and pumpkins already carved using a drill bit. I was interested because I thought using the drill bit would be a lot safer for my daughter's first time. The concept of a two-year-old with a sharp knife frightened me.
Now, I would definitely recommend this for anyone who would rather be safe than sorry. Plus, I think it's easier and more fun use the drill bit. And I probably won't ever go back to using a carving knife. Ever.
Plus, I think it makes the pumpkins look really cool. I love the light shining through the holes at night. And it's so easy that I think I will always continue to carve pumpkins this way.
First, clean out the inside of the pumpkin
So, I took the knife and cut into the tops so we could scoop out the insides. To minimize mess, we used a cookie sheet to keep the seeds and insides.
Mylee was less than impressed at the level of mess her first time involved in cleaning out the inside of a pumpkin. Surprisingly enough, she is a fairly neat and tidy child compared to most kids her age.
So, digging guts out of a pumpkin has never really appealed to her. She'd much rather ride her tricycle or play on her trampoline after about two minutes after she figured out what this job entailed.
Thus, leaving the rest of the dirty work to me. I separate the seeds from the goop to bake pumpkin seeds that make amazing snacks. And the pumpkin guts are used as a pumpkin puree in pies, cookies and other yummy treats like pumpkin bread.
After the pumpkins are completely cleaned out, it's time to get ready to carve uniquely scary pumpkins using a drill bit!
Option 1: Free hand a design onto the front of pumpkin
If you're a natural artist, you can just simply draw your own design.
You could even draw stick designs. I mean, really, the possibilities are endless! Stick designs can still be cool and very unique.
But, if you want to carve uniquely scary pumpkins using a drill bit, I would go with Option 2.
Option 2: Find and place a guide on the front of the pumpkin
First of all, find a design or picture online. Choose something that represents you. Something you want to look at over and over again each season.
Next, just download and print as a guide to carve uniquely scary pumpkins. Or non scary. I love animals and farm equipment on my pumpkins. But I can't draw those things free handed to save my life. So, I just find pictures online and print them.
Then, I place the guide on the front of the pumpkin exactly how I want to drill the holes. Tape it on with scotch tape to trace or trace around the guide with a black marker if you've cut the guide out from the extra paper.
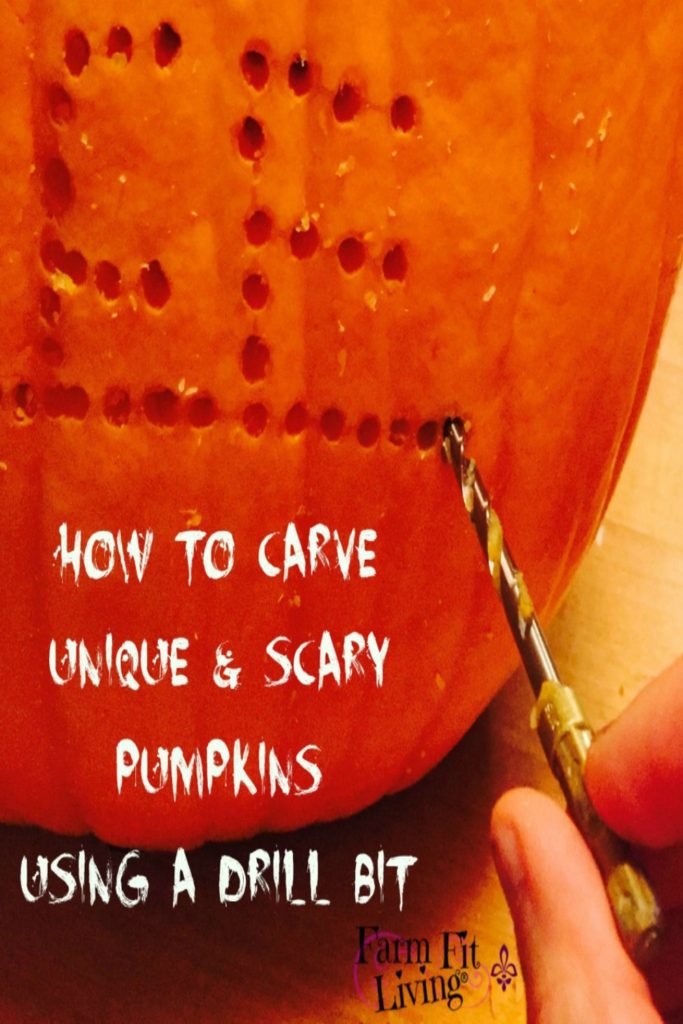
Finally, follow the lines of the guide and punch the holes completely through with the drill bit. More about this process below.
For young kids: This is extremely safe for little ones. But you might need to help them out. I have always started the drill bit and then let my little one push it through. That makes it a bit easier for little hands and they won't get so frustrated.
So, even if you aren't a creative or talented artist, you can find some great designs or pictures online. Print it and then use it as a guide for drilling. It's really easy to do and will make your pumpkins look great.
Find right sized drill bits for your projects
So, after cleaning out both pumpkins entirely, Mylee and I take our pumpkins inside the house to carve. This is also prime time for me to figure out what carving each pumpkin will have. Because a lot depends about what the picture looks like depends greatly on the size of drill bit you can use.
And that is also what is nice about using a drill bit to carve pumpkins. There are so many different sizes that you can really just play with the drill bit to make the perfect sized holes for your picture.
In Matt's drill bit case, I usually grab the biggest drill bit I can to carve uniquely find since I wanted the holes to be bigger for the candle light to shine through. As you're planning your pumpkin design, different sized drill bits may be better to work with.
Insert the drill bit all the way through the pumpkin to create an empty hole.
Of course, I wanted my daughter to do most of the work on this part. She did just that. Her pumpkin was pretty thick, though, so I had to help her push it in a little bit. We tried to keep the holes about ⅛ inch apart.
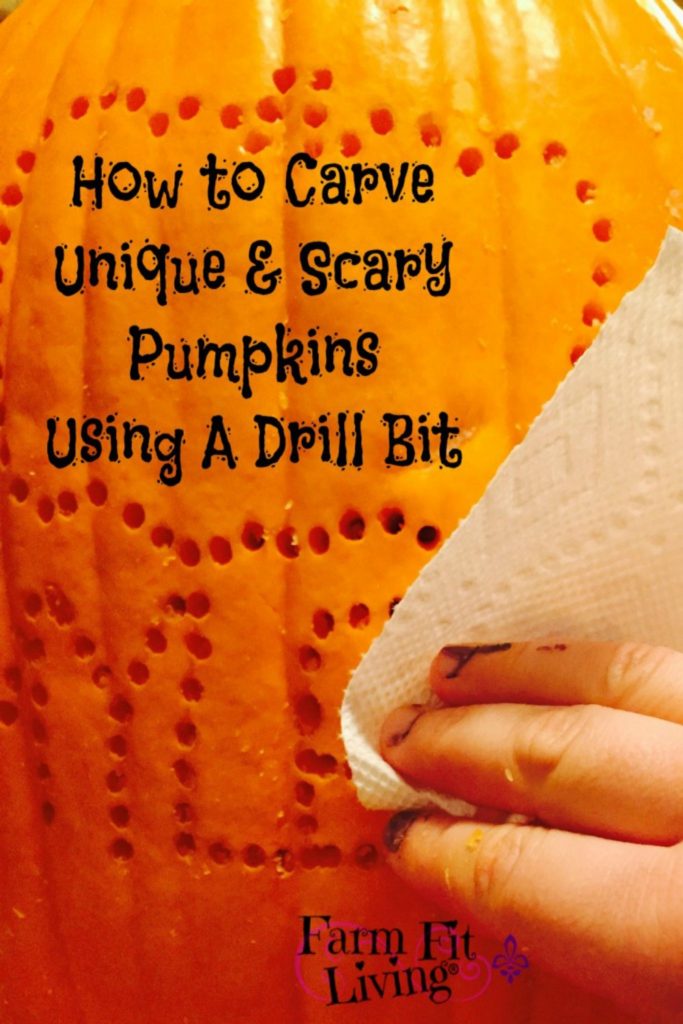
Following the lines of your design, push the drill bit all the way through to the other side. It's important to be sure the pumpkin remains are removed completely from the holes. We used a paper towel to clean the pumpkin from the surface.
After the pumpkin is finished, it's time to light it up.
Grab Small Candles & Illuminate Your Scary Pumpkin
The drill bit works as long as the holes are perfectly round and appropriately spaced. The completed pumpkins look great and really illuminate the front porch.
Then, grab a candle for the inside of the pumpkin. Find a safe spot on the front porch where the pumpkin can sit easily. It should be safe from wind or anything knocking it over.
And that does it! Your pumpkin is complete and ready for display. Wasn't that so easy?
An Easy Way To Carve Pumpkins
Making it simple and accessible for my 2-year-old was the main goal of this project. I wanted her to be able to carve her own pumpkin and I just did not trust her with a knife.
And since then, I have fell in love with this way of carving pumpkins. Since I'm really not an illustrator, I really love finding a fun picture or guide online to carve into my pumpkin. I love using the different drill bit sizes to make the design look good and the holes evenly spaced.
Finally, be sure the lights from the candle inside the pumpkins really illuminates your design! And illuminating your drill bit carved pumpkins correctly is so important. Make sure your design is brilliantly lit up to where it really pops out of the pumpkin.
In conclusion, it's very easy and fun to carve uniquely scary pumpkins using a drill bit. Your pumpkin will look so awesome and different from any others you've ever seen. And nothing gets one in the spirit of Halloween more than seeing a spooky pumpkin sitting on a front porch.


Great post!! Loved it!
Thanks for stopping by!
Love it! I love this time of year.
xoxo, Jenny
Love this idea! This would be so fun to try this Halloween.
Love this idea! Can't wait to carve pumpkins!!
What a smart idea! I love finding new designs. This one is totally doable this Halloween!
This is so fun! I love using the templates to carve pumpkins!
This is so simple - I love it. I would've never thought to use a drill bit, either! No more dangerous knives for the hubs and I...ha!
Coming Up Roses